 By Ghulam Mustafa Khan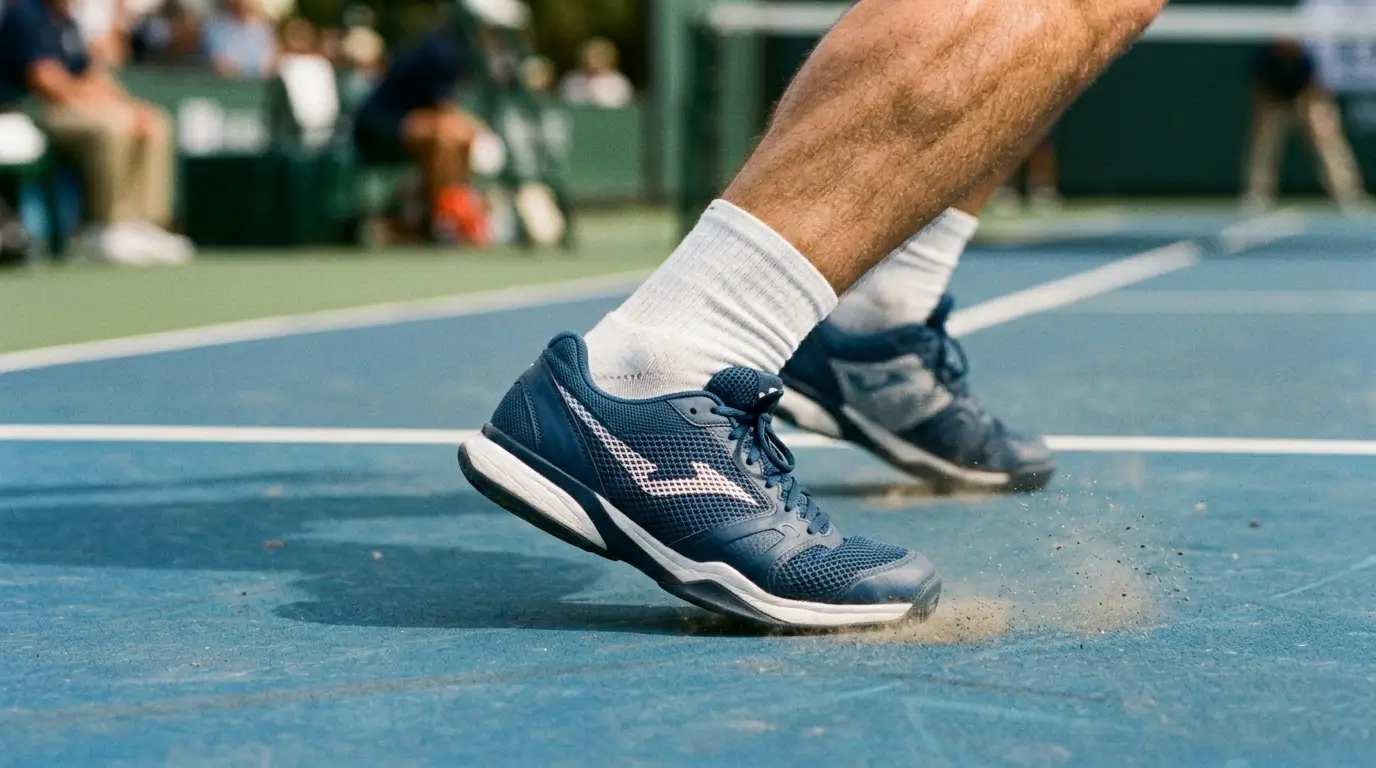
Are your heels lifting when you change direction on the court? Heel slip causes painful blisters and ruins your reaction time. The absolute best way to fix this is by using specific lacing techniques for heel lock. The proven winner is the runner’s loop. This method uses the extra top eyelets to create a tight lace loop. When you pull the laces through, it cinches the shoe collar securely around your ankle. This anchors your heel deep into the shoe cup without crushing the top of your foot. You get instant stability for aggressive lateral cuts.
Why You Need Proper Lacing Techniques for Heel Lock
Court sports demand aggressive movements. You sprint forward, stop hard, and slide side to side. Your footwear must handle these intense forces. If your heel lifts even a quarter of an inch, you lose power. That wasted energy slows down your first step. It also creates friction against your skin. Friction leads directly to severe injuries. If you want to prevent blisters on heels basketball and tennis players deal with daily, you must secure the foot.
Based on my coaching experience and common biomechanical principles, your heel bone must stay seated in the heel counter of the shoe. The heel counter is the stiff cup at the back of the footwear. When you use a proper lacing strategy, you lock the foot into that cup. You do not just squeeze the foot. You pull the heel backward and downward. This creates massive lateral movement shoe stability.
According to guidelines from the American Academy of Podiatric Sports Medicine, proper shoe fit and lacing are the first lines of defense against foot injuries. Bad lacing ruins a good pair of shoes. Good lacing can save a mediocre pair.
A Coach’s Experience with Heel Slip
I remember a fast point guard I coached two seasons ago. He had terrible heel slip during aggressive lateral cuts. He kept tying his regular laces tighter and tighter before every quarter. This did not act as a court shoe heel slip fix at all. It just caused severe foot numbness. The tight laces crushed the nerves on the top of his foot. He was limping by halftime.
I sat him down on the bench before practice the next day. I unlaced his expensive shoes completely. I taught him a basic heel lock using the top extra eyelets. I showed him how to pull the laces down and back instead of straight up.
He stepped back on the hardwood and immediately felt the difference. He did a few hard defensive slides. The slipping stopped completely. He played the rest of the season blister free. He never complained about foot numbness again. It took two minutes to fix a problem that plagued him for weeks.
Three Proven Lacing Methods to Anchor Your Heel
Here are three tested ways to tie your footwear for maximum stability. Try them out during a light practice before you use them in a real match.
Method 1: The Heel Lock (Runner’s Loop)
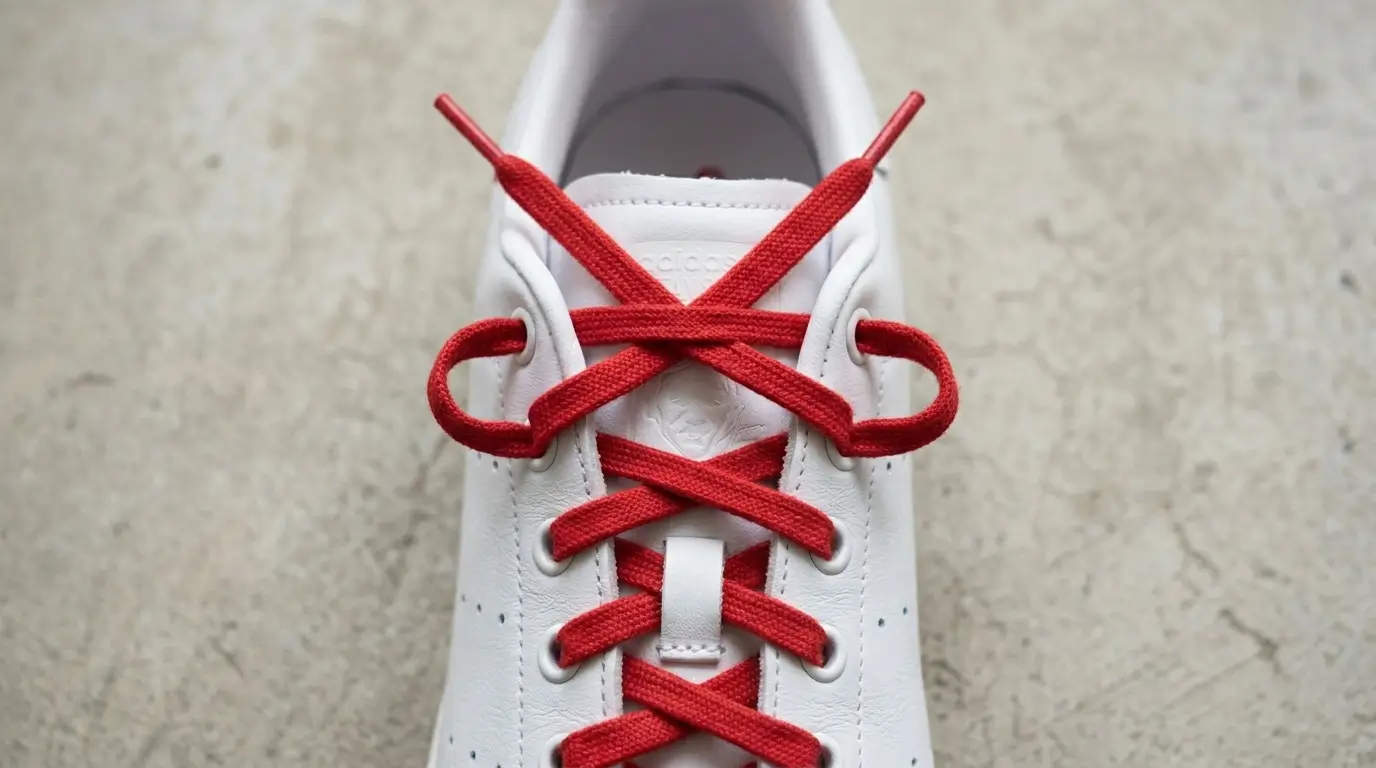
This is the gold standard for stopping heel movement. You should use this method if your shoes feel great everywhere except the very back. It works perfectly for players with narrow heels. A proper runner’s loop court shoes setup changes how you play entirely.
When to use it: Use this when you experience heel lift during hard sprints or quick stops. It works great for low top tennis and volleyball shoes.
Step by step instructions:
Lace your shoes normally until you reach the second to last eyelet.
Take the left lace and run it straight up into the top left eyelet. Do not cross it over.
Leave a small loop sticking out on the left side.
Take the right lace and run it straight up into the top right eyelet.
Leave a small loop sticking out on the right side.
Cross the left lace over the shoe and thread it through the right loop.
Cross the right lace over the shoe and thread it through the left loop.
Pull both laces tightly downward and backward toward your heel.
Tie your normal bow to finish.
Quick pros and cons:
Pro: Incredible heel hold without crushing the foot bridge.
Pro: Very fast to tie once you learn the loop.
Con: Makes the laces slightly shorter.
Method 2: Surgeon’s Knot Variation
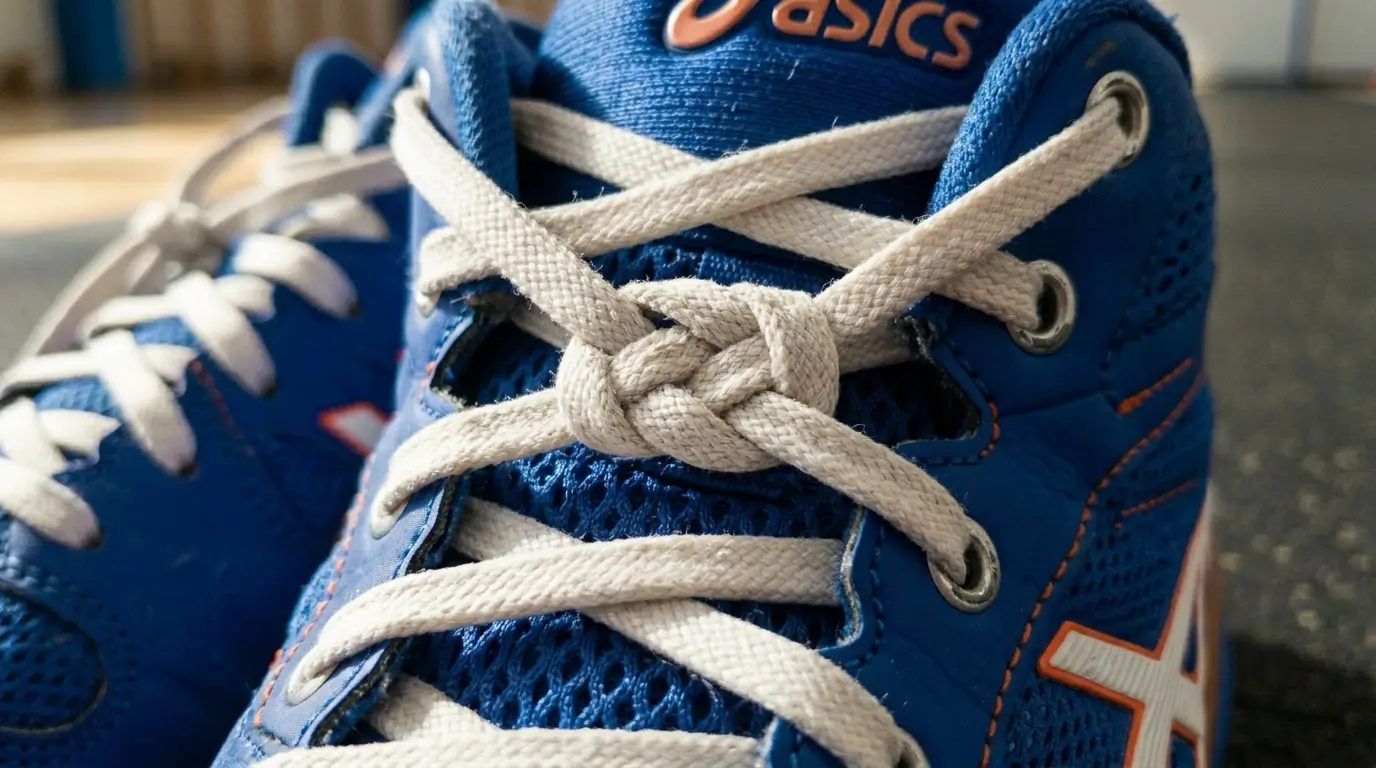
The surgeon’s knot is a great tool for players who hate the feeling of loose laces. It stops the laces from loosening up during a long match.
When to use it: Use this if your foot slides forward and hits the front of the shoe. It helps players with high arches who need targeted pressure relief.
Step by step instructions:
Unlace the shoe down to the middle section where your foot feels loose.
Cross the laces over each other just like you are starting a normal bow.
Instead of pulling tight immediately, wrap the lace over and under one more time.
You now have a double twist in the middle of the shoe.
Pull this double twist tight across the top of your foot.
Continue lacing the rest of the shoe normally to the top.
Tie your standard bow at the ankle.
Quick pros and cons:
Pro: Locks the tension perfectly in the lower half of the shoe.
Pro: Prevents the tongue from sliding sideways.
Con: Takes extra time to untie after the game.
Method 3: Figure Eight Anchor
This method requires longer laces. It provides massive support around the entire ankle collar. It mimics the feeling of a light ankle brace. If you need serious ankle support lacing techniques, this is the one to choose.
When to use it: Use this for high top basketball shoes. It is great for players recovering from minor ankle tweaks who want a secure, locked in feeling.
Step by step instructions:
Lace the shoe normally all the way to the top eyelets.
Pull the laces snug across the front of the ankle.
Take both laces and wrap them completely around the back of the ankle collar.
Cross them over each other behind the shoe.
Bring the laces back to the front of the shoe.
Tie a standard tight bow in the front.
Tuck the loops under the side laces so they do not trip you.
Quick pros and cons:
Pro: Provides a very tight, secure feeling around the entire ankle.
Pro: Uses up extra long laces easily.
Con: Can cause friction on the Achilles tendon if tied too tight.
Troubleshooting Heel Slip Beyond Lacing
Sometimes lacing is not enough. If you try the runner’s loop and still feel movement, you need to check other parts of your gear. Small details make a massive difference in court sports.
Check Your Socks
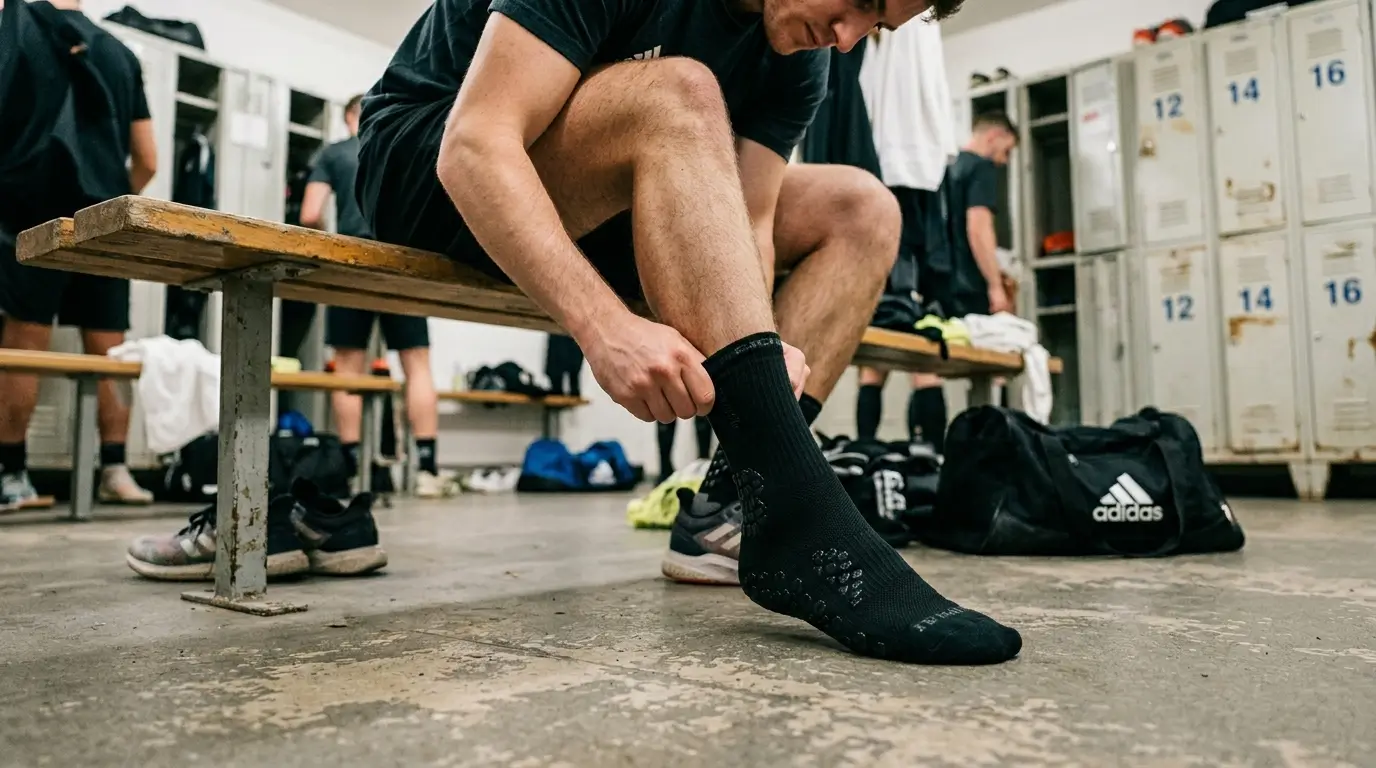
Cotton socks are terrible for court sports. They absorb sweat and lose their shape. This creates a slippery layer between your foot and the shoe lining. You need grip socks or high quality synthetic blends. Grip socks have rubber pads on the bottom. These pads lock your foot to the shoe insole. This stops internal sliding instantly.
Inspect Your Insoles
Factory insoles are usually cheap foam. They compress quickly and lose their grip. A slick insole allows your foot to slide backward and forward. Upgrading to a structured sports insole holds your arch in place. If your arch does not collapse, your heel stays seated in the cup. This reduces friction and pain.
Verify Your Shoe Fit
You might just have the wrong size. Court shoes should fit tighter than casual walking sneakers. You want about a thumb width of space at the toes. The sides should hug your foot tightly. If you can slide a finger behind your heel when the shoe is tied, the shoe is too big. No lacing trick can fix a shoe that is a full size too large.
If you are wondering how to stop heel slipping in tennis shoes, you must buy the right fit first. If you play on outdoor courts, heavy wear can also change how a shoe fits. You might want to review our guide on the best shoes for toe draggers to see how upper materials stretch and break down over time. Worn out materials lose their ability to hold your heel.
Adjust Tongue Position
A crooked tongue creates gaps around the ankle collar. Gaps allow the heel to lift. Before you pull your laces tight, pull the tongue straight up. Smooth out any wrinkles in the fabric. If your shoe has a tongue loop, make sure you thread the laces through it. This keeps the tongue dead center during aggressive play.
Perfect Your Lacing Tension
Many players pull their laces straight up to tighten them. This is wrong. Pulling straight up stretches the eyelets outward. You must pull the laces outward and downward. This pulls the sides of the shoe firmly around your foot. If your shoes feel stiff or slick on the bottom, read our guide on how to fix slippery court shoes to ensure you have traction on the floor as well as inside the shoe.
When to See a Podiatrist
Lacing fixes minor slips and basic blisters. It does not fix serious foot pain. According to sports medicine experts at the Mayo Clinic Sports Medicine Center, chronic heel pain could indicate plantar fasciitis or Achilles tendinitis. If you feel sharp pain in your heel bone, stop playing. If the back of your ankle swells up, take off the shoes. Always consult a medical professional for ongoing pain.
Coach’s Quick Checklist for Game Day
Use this simple checklist before you step onto the court.
Wear clean synthetic or grip socks.
Push your heel all the way to the back of the shoe before tying.
Pull the tongue straight up and smooth out wrinkles.
Use the extra top eyelet to create a runner’s loop.
Thread the laces through the loops and cross them over.
Pull the laces downward and backward toward the heel.
Tie a strong double knot to finish.
Do three hard lateral slides to test the hold.
Frequently Asked Questions
What are the best lacing techniques for heel lock?
The best technique is the runner’s loop. It uses the top eyelets to create a pulley system that pulls your heel firmly into the back of the shoe.
Will a runner’s loop work for tennis shoes?
Yes, it works perfectly for tennis shoes. Tennis requires constant lateral movement, and this loop stops the foot from sliding out of the low cut collar.
Why does my heel slip even with tight laces?
Your heel slips because tight laces often squeeze the top of the foot without securing the ankle. To fix this, you should check these factors:
Ensure your shoes are not a half size too big.
Upgrade to grip socks to stop internal sliding.
Switch from standard lacing to a heel lock loop.
Replace worn out, slippery factory insoles.