
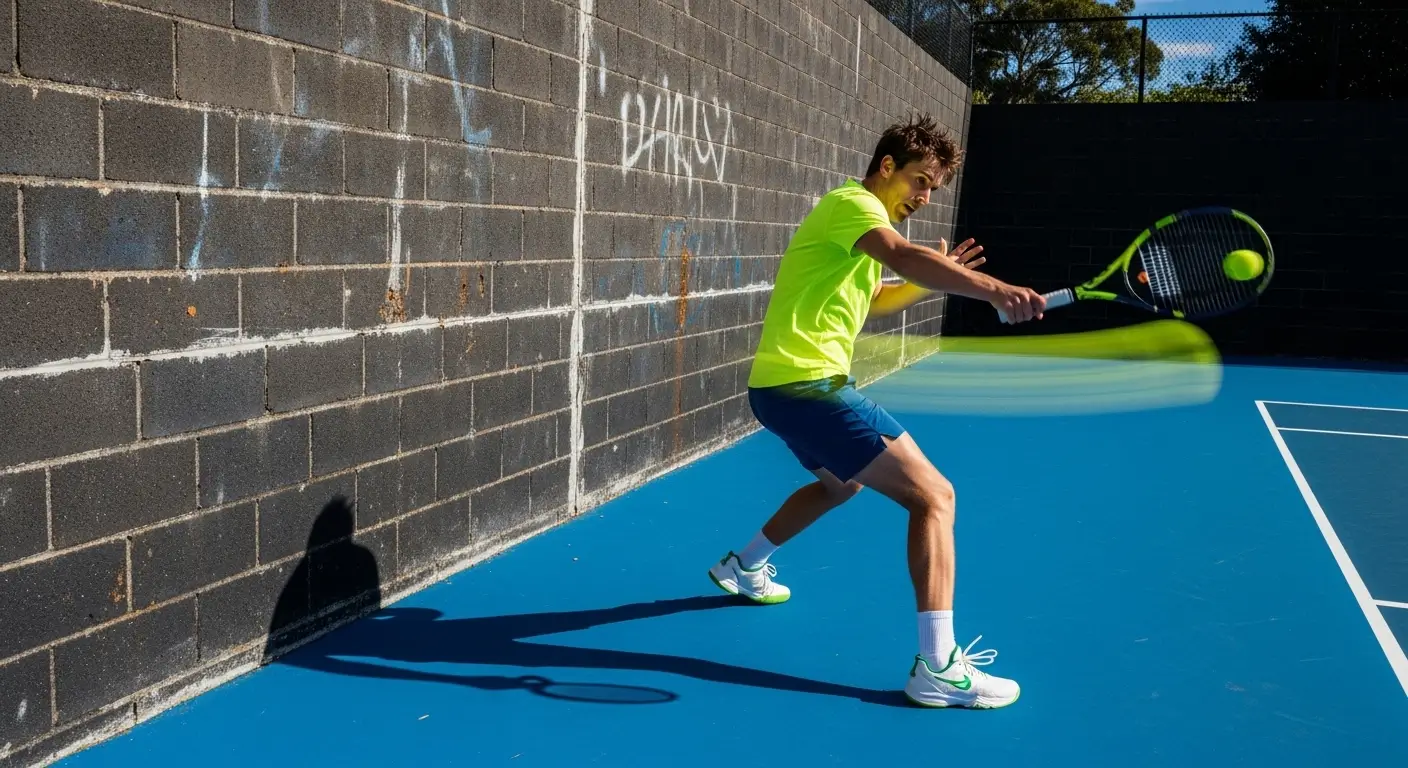
Forget expensive country club memberships and $2,000 ball machines to fix your footwork and timing. Some of the greatest players in tennis history, including legends like Andre Agassi and top modern pros, perfected their craft by hitting against a simple garage wall.
A DIY tennis rebounder is the most cost-effective way to get high-repetition training without a partner. However, not all walls are created equal. If you build one with the wrong materials, you’ll end up with a dead bounce or a noise complaint from the neighbors. This guide will show you how to build a professional-grade hitting station that provides a true-to-life bounce every time.
Before you buy your lumber and hardware, make sure a backyard setup is the right choice for your space. Read our complete outdoor tennis rebounder vs indoor practice wall comparison to see which training system fits your budget, noise limits, and skill level.
Why Every Home Court Needs a Rebounder
The biggest obstacle to improving your tennis game is dead time, which is the wasted energy spent picking up balls instead of hitting them. A DIY tennis rebounder eliminates this problem by returning the ball to you at the same speed as your stroke.
Whether you are practicing the high-velocity mechanics needed for an ace in tennis or perfecting your slice, the wall never misses. It forces you to stay on your toes, improving the same cardio health benefits found in all types of court sports.
Choosing Your Materials: Wood vs. Composite
For a high-performance DIY tennis rebounder, you have two primary options:
- Marine-Grade Plywood (3/4 inch): This is the gold standard for DIY builds. It’s heavy enough to provide a solid “thud” and a fast return.
- Pressure-Treated Lumber: Essential if your rebounder will be living outdoors. Untreated wood will warp within one season, ruining the vertical angle of your bounce.
The Angle Secret
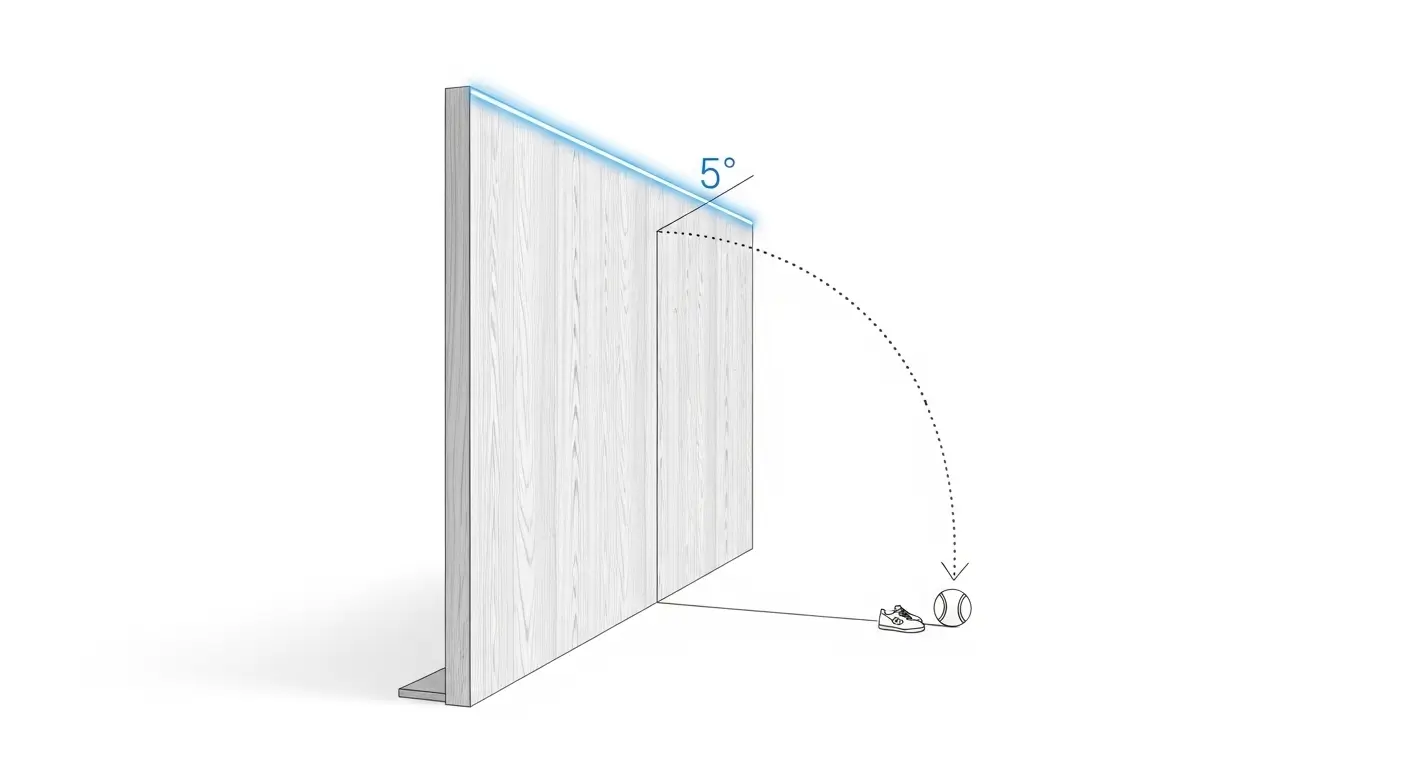
A vertical wall is a mistake. To get a ball that mimics a real groundstroke, you should tilt your wall back by 5 to 10 degrees. This slight incline ensures the ball returns with a slight upward arc, giving you enough time to reset your feet between shots.
From Wood to Winner: Crafting the Perfect DIY Tennis Rebounder in a Weekend
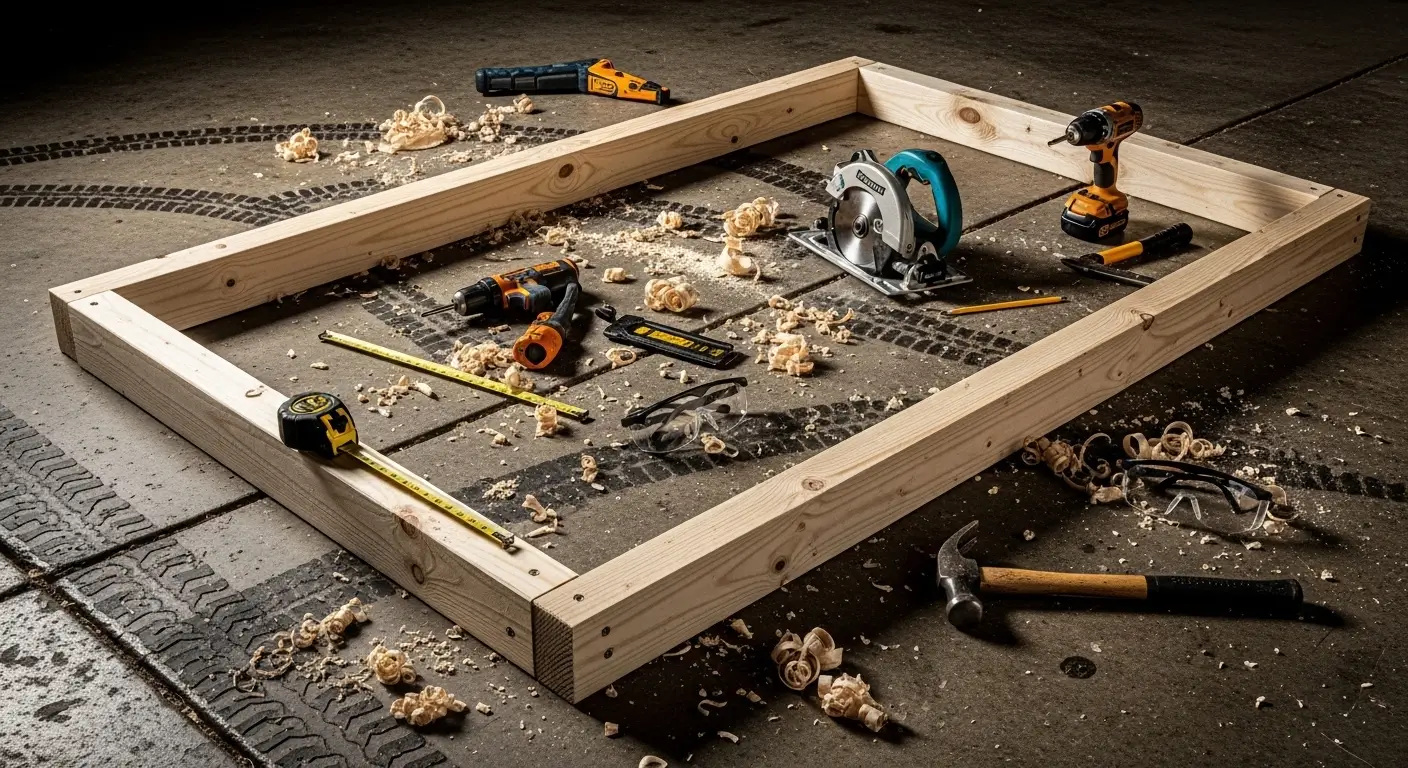
1. Frame Construction
Build a rectangular frame using 2×4 pressure-treated studs. For a standard station, a 4-foot by 8-foot surface is ideal. If you have a larger driveway, you might consider the pickleball driveway dimensions as a footprint guide for your practice area.
2. Mounting the Face
Secure your plywood to the frame using exterior-grade screws. Pro Tip: Apply a layer of heavy-duty outdoor adhesive between the studs and the plywood before screwing. This eliminates the “vibration buzz” and makes the wall feel like solid concrete.
3. Surface Coating
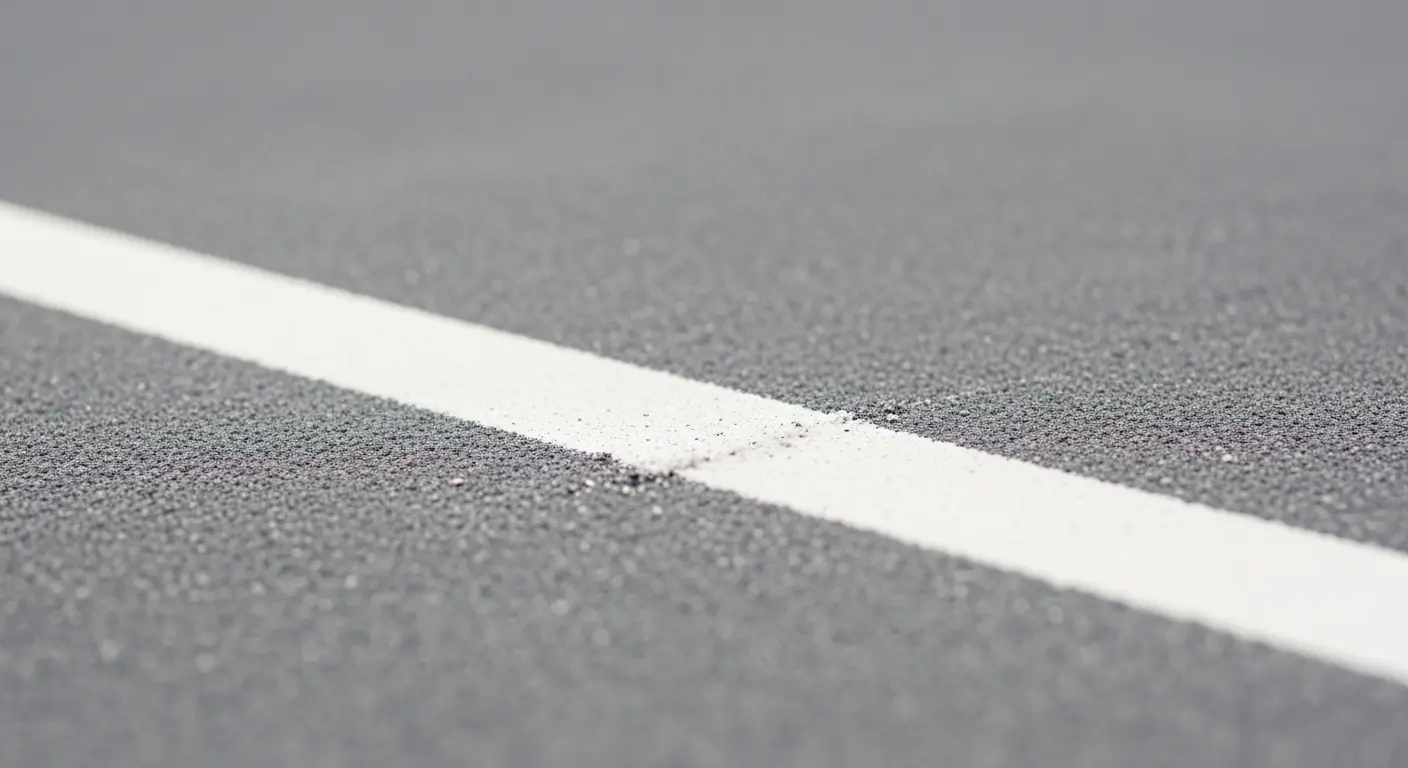
Raw wood absorbs energy, making the ball feel sluggish. Apply a high-gloss exterior paint or an acrylic court coating. If you have leftover supplies from when you learned how to paint lines on a pickleball court, use that same textured paint. It provides a consistent friction that mimics a real court surface.
From the Coach’s Perspective
“Training with a rebounder requires you to react much faster than you would during a standard tennis match. These quick movements will also improve your performance in table tennis because both sports focus on rapid hand eye coordination.”
Beating the Elements: Preservation Tips for Your Tennis Training Station Frame
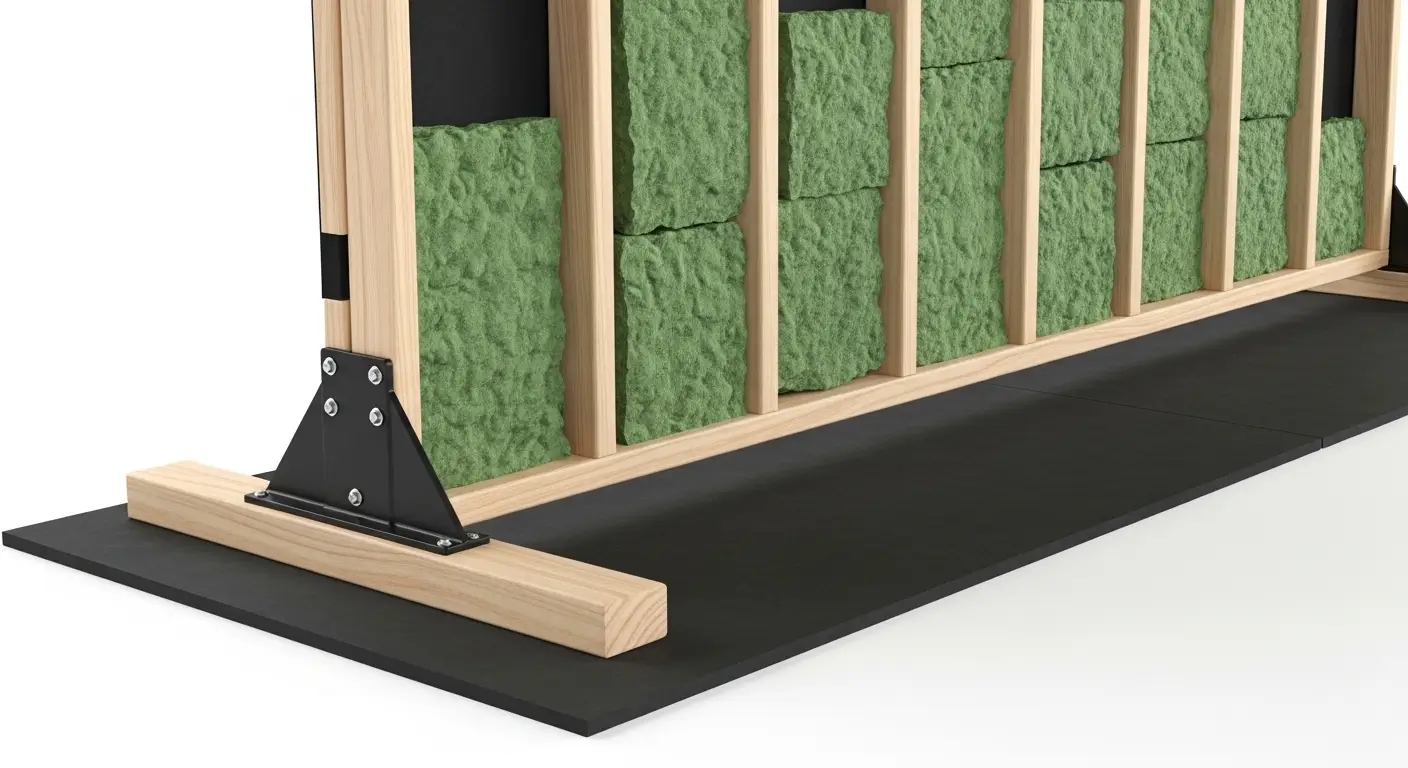
If your practice station is located in a garage, noise can be an issue. You can dampen the sound by stuffing the back of the frame with rockwool insulation.
Additionally, be mindful of the weather. Just as UV rays and humidity require a portable pickleball net fix over time, your wooden rebounder needs an annual sealant coat to prevent rotting. For more on protecting outdoor equipment, check our guide on best backyard court surfaces.
Training Drills for Your New Wall
- The Figure-8: Hit a cross-court forehand, then a cross-court backhand. This forces lateral movement.
- The Volley Burn: Stand 6 feet from the wall and hit 50 consecutive volleys without the ball touching the ground. This is the same hand-eye coordination used by pros to secure a volleyball ace.
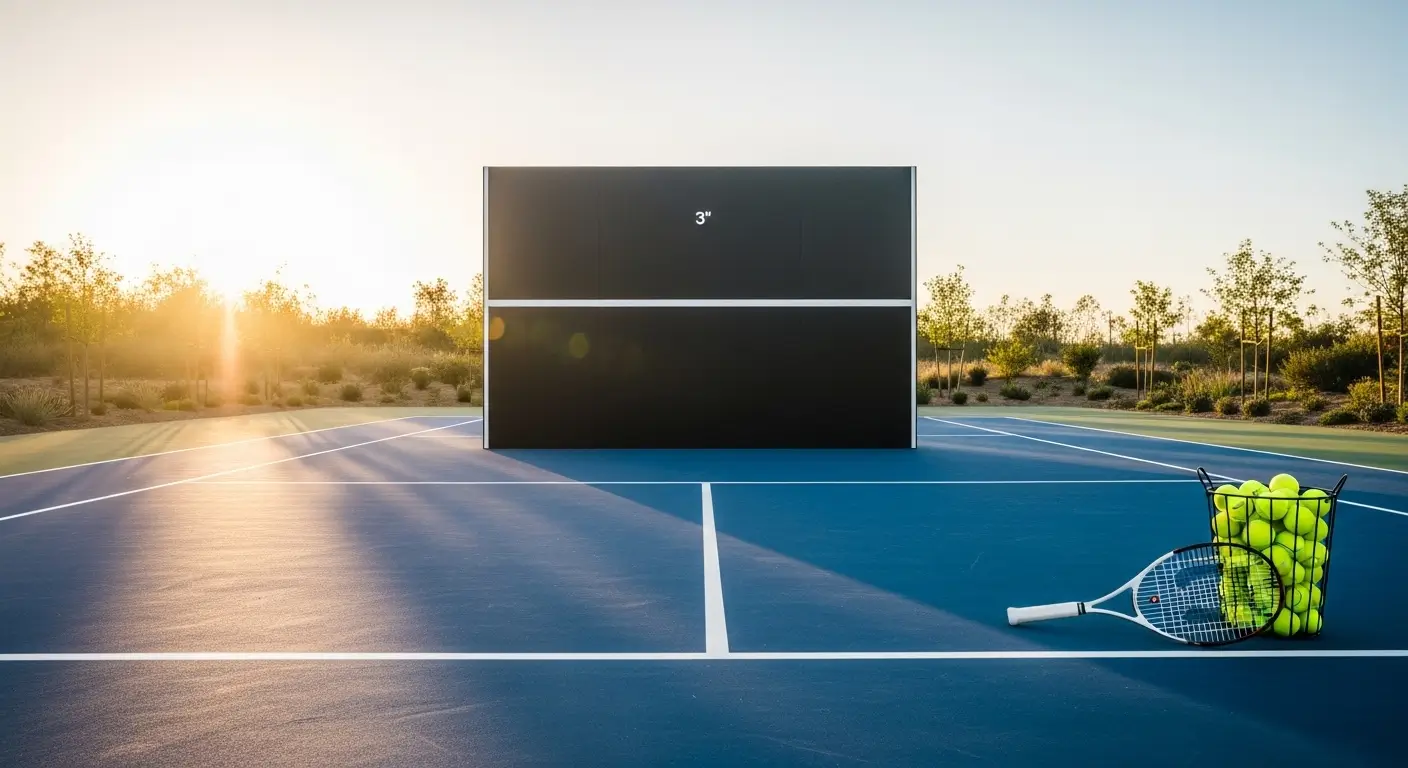
- The Service Toss: Use the wall as a target for your serve. Mark a “net line” at 3 feet (36 inches) to ensure your serves are clearing the tape.
Expert Tip: The “Sweet Spot” Silencer
If the thwack of the ball is too loud for your neighbors, hang a piece of heavy-duty outdoor tarp or a strip of artificial turf 2 inches in front of the plywood. This will deaden the sound significantly while still returning the ball with enough energy for a great workout. This is a common trick used in residential sport court builds to keep the peace in the neighborhood.
Advanced Customization and Weather-Proofing Your Practice Station
Building the frame is only half the battle. To transform your DIY tennis rebounder from a simple wooden board into a professional-grade training tool, you need to focus on surface response and environmental protection. In this section, we dive into the “pro-level” tweaks that separate a weekend project from a permanent court asset.
The Surface Secret: Mimicking Professional Court Speed
A raw plywood board has a dead feel because wood fibers absorb the kinetic energy of the tennis ball. To get a return that feels like a real opponent’s groundstroke, you need a high-density finish.
- The Acrylic Hack: Use the same slip-resistant coatings found in our guide on best sports court flooring. An acrylic finish with a slight sand texture provides the perfect “bite,” allowing you to practice topspin and slice that actually reacts when it hits the wall.
- The Target Zone Painting: Don’t just paint the wall a solid color. Use a high-contrast white paint to mark a horizontal line exactly 3 feet high. This mimics the net height and forces you to aim for the “deep” part of the court. If you’ve already mastered how to paint lines on a pickleball court, you know that precision marking is the difference between “playing” and “training.”
Weather-Proofing: How to Stop the Warp
Since your rebounder is a vertical structure, it is highly susceptible to “cupping”—where the wood bows in the center due to moisture.
- Seal the Edges: Most DIYers forget to seal the top and bottom edges of the plywood. Water seeps into these raw edges, causing the layers to delaminate. Use a silicone-based sealant to cap the edges.
- UV-Resistant Topcoats: Just as extreme heat requires a portable pickleball net fix to prevent material relaxation, your rebounder needs a UV-rated topcoat. Direct sunlight will bake the wood, making it brittle and prone to cracking after a heavy hitting session.
- The Winter Protocol: If you live in a region where you enjoy platform tennis in winter, you know that ice is the enemy of wood. Store your rebounder under a heavy-duty tarp or move it into a garage to prevent the freeze-thaw cycle from splitting your frame.
Keep the Peace: Noise-Reduction Strategies for Your Home Hitting Wall
The “thwack” of a tennis ball against a hollow wooden frame can carry for blocks. According to Acoustical Society of America standards, repetitive impulse noises (like hitting a wall) are often more disruptive than constant background noise.
- Internal Dampening: Fill the 3.5-inch cavity of your 2×4 frame with rockwool or recycled denim insulation. This converts the “drum” sound into a muffled “thump.”
- Rubber Isolation: If your rebounder is touching the ground, place it on a set of heavy-duty rubber mats. This prevents the vibration from traveling through the pavement, a common complaint in residential sport court builds.
Expert Tip: The “Vibration Isolation” Hack
When writing this section, suggest using rubber washers between the plywood face and the wooden frame. This small mechanical detail acts as a “decoupler,” preventing the frame from acting like a speaker cabinet. Just as you avoid court clutter to prevent tripping hazards near your net, isolating vibrations ensures your DIY tennis rebounder remains a welcome addition to the neighborhood rather than a noise nuisance.
Frequently Asked Questions (FAQ)
Q: Can I use this for pickleball as well?
A: Yes. Because a pickleball is lighter and less bouncy, however, reduce the tilt to approximately 3 degrees. Hitting against a hard wall is excellent for improving hand-eye coordination, but it can accelerate the wear on your edge guard.
Q: How wide should a DIY tennis rebounder be?
A: For solo play, 4 feet is the minimum. If you want to practice wide-angle shots or “figure-eight” drills, an 8-foot wide station is better. This fits comfortably within most pickleball driveway dimensions.
Q: Should I use a tennis ball or a “pressureless” ball?
A: Pressureless balls are best for wall practice. They don’t lose their bounce over time, ensuring your DIY tennis rebounder feels consistent for months of training.
Expert Tip: The “Angled Return” Hack
If you want to practice your backhand specifically, don’t stand directly in front of the wall. Stand at a 45-degree angle. By angling your body toward the corner of the wall, the ball will return to your “weak side” every time, forcing you to develop the muscle memory needed for a perfect tennis ace serve and follow-up.